Common cookie decorating mistakes and how to avoid them
Are you looking for ways to cut down on mistakes in your cookie decorating? Well Hello Cookie has you covered!
In this post, we’ll walk through some of the most common cookie decorating mistakes and how to avoid them. Whether you’re just starting out or have been decorating for years, cookie decorating can be tricky and even experienced bakers run into issues from time to time.
We’ll share simple tips to help you troubleshoot, decorate with more confidence, and create cookies that are perfect for gifting, parties, or party favors. Let’s take a look at the most frequent decorating pitfalls and how to steer clear of them in the future.
Icing consistency

Icing consistency is one of the most important factors in successful cookie decorating. If your icing is too thick or too thin, it can completely throw off the look and finish of your cookies. Thin, runny icing tends to spread too quickly, bleed into other colors, and leave a messy finish. On the other hand, icing that's too thick will be hard to pipe, difficult to spread, and can create clumpy, uneven designs.
The key is to find that sweet spot and it takes practice. Overmixing or undermixing your icing can also affect the final result. If your icing is too thin, it won’t hold its shape. If it’s too thick, it won’t flow at all.
In my own cookie decorating, I typically work with three icing consistencies:
Flood consistency – This is a thinner icing, often called a 5-second icing. It smooths out quickly and is used to fill in larger areas.
Medium consistency – A 10 to 15-second icing that holds its shape a bit more and is great for detail work.
Stiff consistency – This is thick icing that does not spread and is perfect for outlining or piping details with more dimension.
You create these consistencies by adding water to your base royal icing. That’s why having a solid royal icing recipe matters—it gives you a stable base to work from.
My biggest tip: use a spray bottle to gradually add water to your icing. It gives you more control and helps you avoid over-thinning, which can be hard to fix. Getting the consistency just right may take a few tries, but once you master it, your cookie decorating will improve dramatically!
Decorating warm cookies

Waiting for your cookies to cool might be the hardest part of the entire decorating process, but it’s one of the most important steps. As tempting as it may be to jump right in, decorating warm cookies can lead to disaster. If the cookies are even slightly too warm, the icing will start to melt, causing it to slide off the surface and spread uncontrollably. The colors can bleed into each other, turning what should be a clean, detailed design into a messy, unrecognizable blob. If you're working with more intricate or layered designs, the heat will completely ruin your hard work.
Cooling your cookies properly ensures the icing adheres well, holds its shape, and dries evenly. Rushing this step often leads to frustration and wasted materials. Instead of waiting impatiently, use that time productively. While the cookies cool, you can mix and color your icing, fill piping bags, and prep your decorating station. You can even use a practice sheet to test designs or work on your piping skills.
Taking time to prepare during the cooling process not only helps you stay focused but also improves the quality of your finished cookies. Cookie decorating is as much about timing and patience as it is about creativity. Let those cookies cool completely before you start decorating—you’ll thank yourself later.
Not outlining before flooding and not letting layers dry between steps

When you first start decorating cookies, it’s important to create a border around the edge before flooding the center with icing. This border acts as a barrier to keep the flood icing from spilling over the sides or bleeding into other sections. Without a border, the icing tends to run off the edges and can cause your design to lose its shape. Use a thicker icing consistency for outlining to help it hold its form and contain the flood icing in the middle.
In addition to outlining, proper drying time between layers is essential, especially if your design involves multiple layers or sections. If you apply icing too soon on top of a wet layer, the colors can bleed or the designs may blend together. To avoid this, allow each layer to dry for at least 30 to 60 minutes before adding the next. This step helps maintain clean lines and keeps your design from becoming messy or distorted.
For more detailed cookies, I like to use a dehydrator for about 10 to 15 minutes between steps. This helps the icing form a crust quickly so I can decorate the next section without the colors bleeding together. It’s important to hit that sweet spot where the icing is dry enough to hold its shape but still has a little moisture left to prevent cracking or color bleed. With the right timing and consistency, you’ll get sharper designs and fewer cookies ending up in the discard pile.
Why WELL HELLO COOKIE DIY KITS are great for parties
These cookies are perfect for any party. Not only are they delicious, but they’re also easy to share and fully customizable for any party theme. From birthdays and holidays to baby showers and graduations, custom sugar cookies add a personal and memorable touch to your celebration. If you’re stuck on what to give as a party favor, individually wrapped cookies or cookie decorating kits make the perfect choice. Guests of all ages love them, and they’re an easy way to make your event feel extra special.
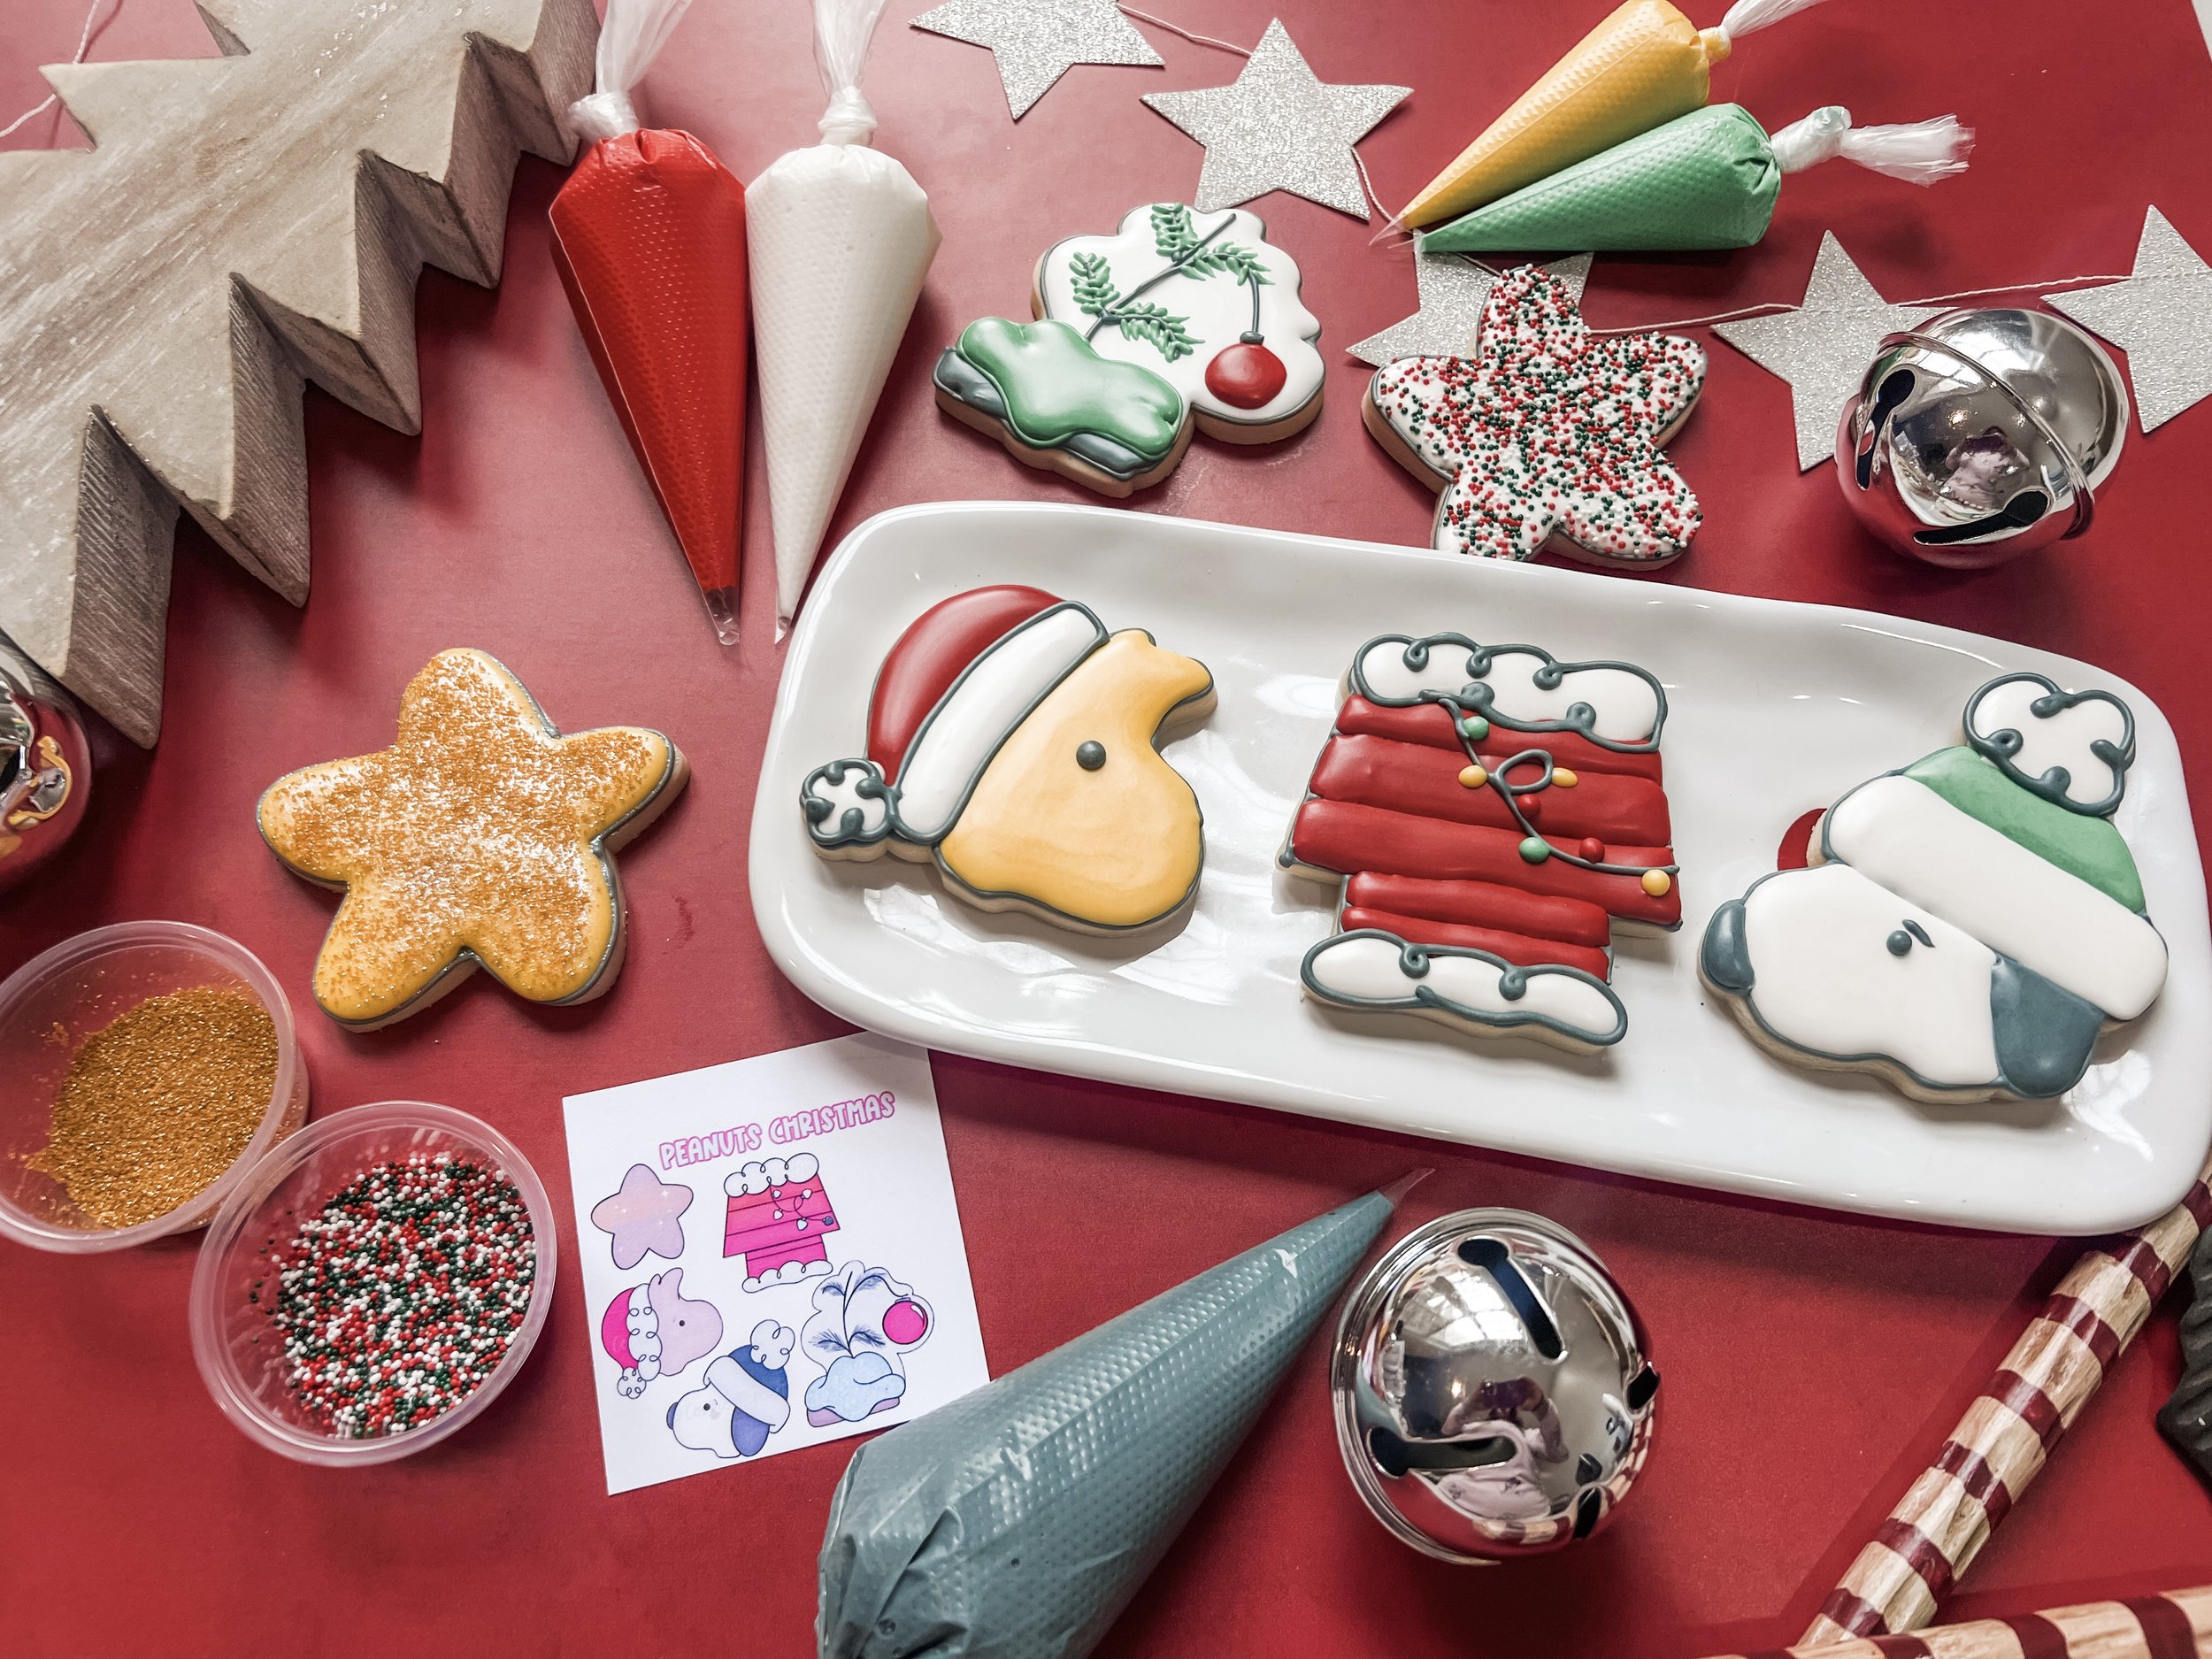
Well Hello Cookie also offers DIY cookie kits that are great for parties, rainy-day fun, or family activities at home. Each kit includes undecorated sugar cookies, pre-filled icing bags in themed colors, and fun sprinkles or decorations. They're a big hit with kids and adults alike perfect for birthday parties, classroom events, or even girls' night in. You get all the fun of decorating without the mess of baking from scratch.
So whether you're planning a party, looking for a thoughtful gift, or just want a fun activity to enjoy with friends or family, these cookies are the perfect choice. And the next time you catch yourself making one of the common decorating mistakes we covered, feel free to come back to this blog for a quick refresher. Happy decorating!